A few of my recent posts include pictures of birds in flight. The kingfisher, the fantail, and the welcome swallow. I’ve photographed other birds in flight but the agility and speed of these birds has pushed my skills to the limit. You might now be asking “How do you take great photos of these birds in flight?”. Capturing them has been a learning curve for me and I’ve picked up some tips that will help you out when photographing any bird in flight. Well follow these tips and you too can take beautiful photos.
Tip 1: Choose a fast shutter speed, but not too fast
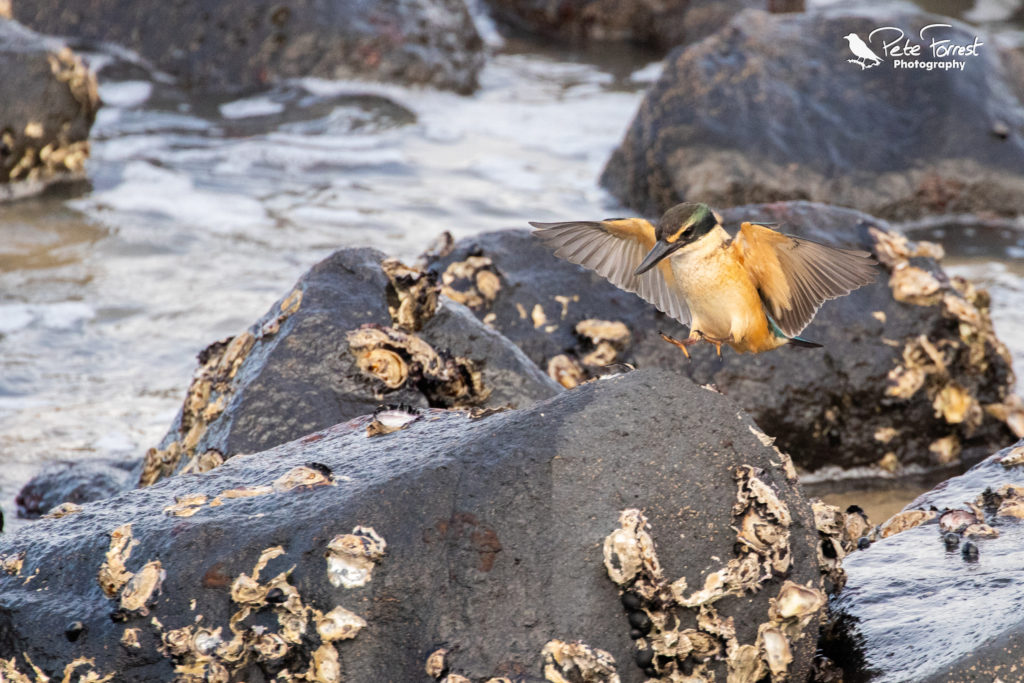
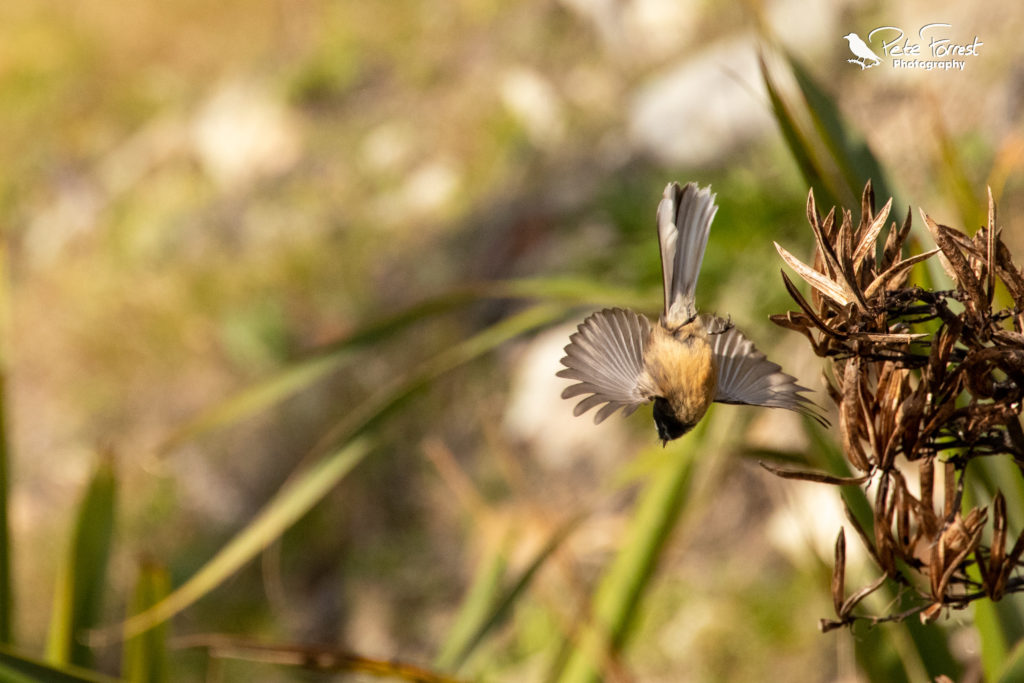
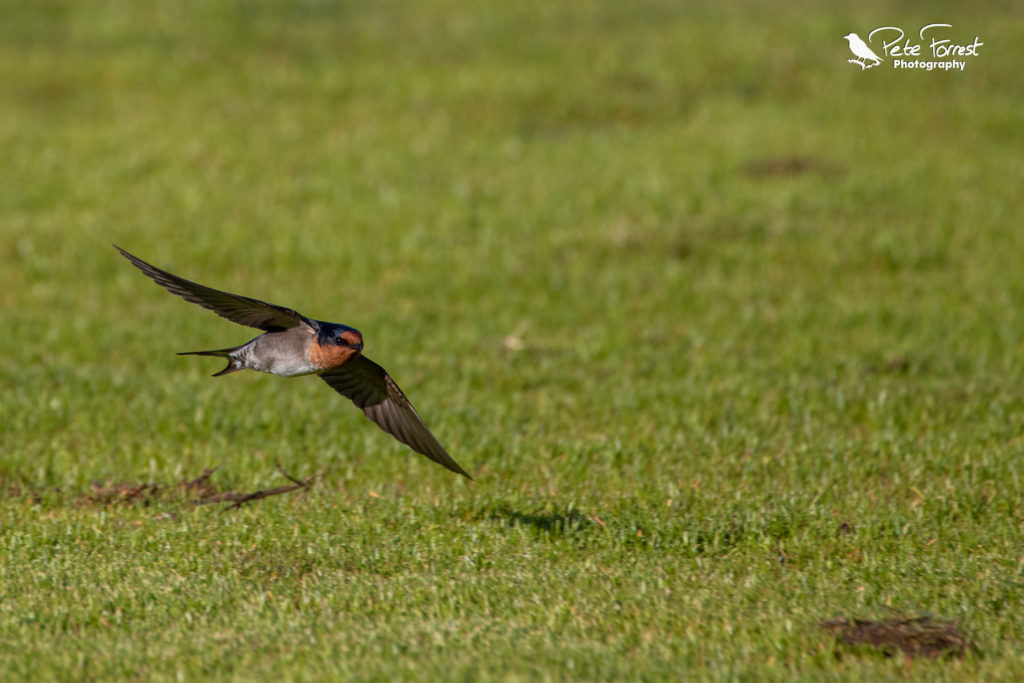
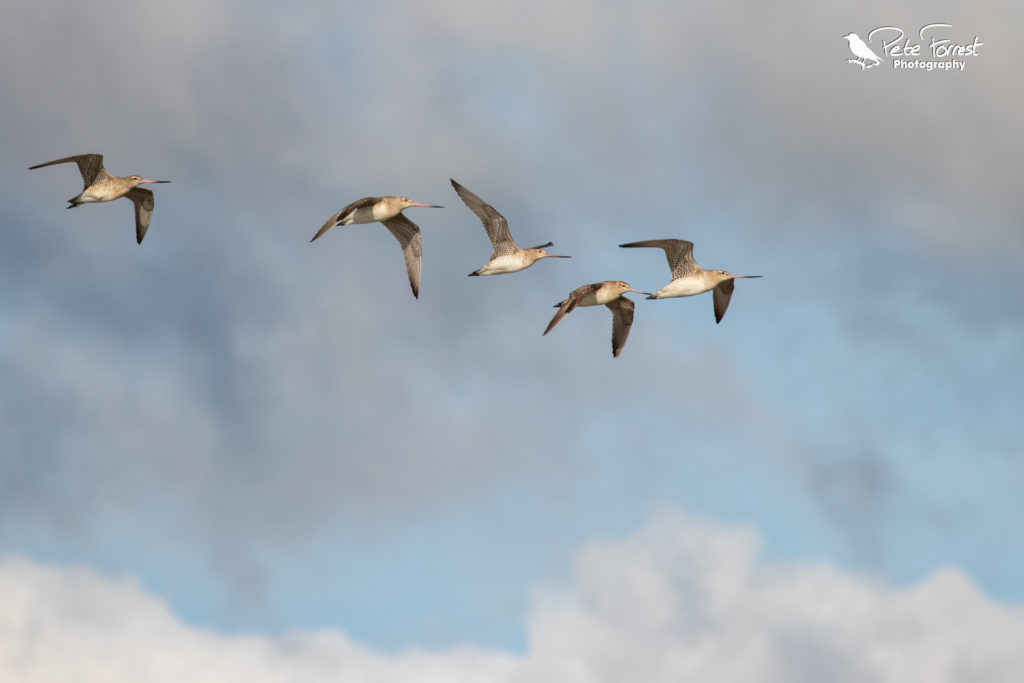
You will need a fast shutter speed to capture the bird motionless in the air. Different birds move at different speeds and so the exact shutter speed you choose depends exactly on the bird you are photographing. For example, photographing the kingfisher 1/1600 was fast enough to snapshot the wings, the fantail needed 1/3200, and the swallows 1/2500. Experiment with a few different shutter speeds around the 1/2000 mark.
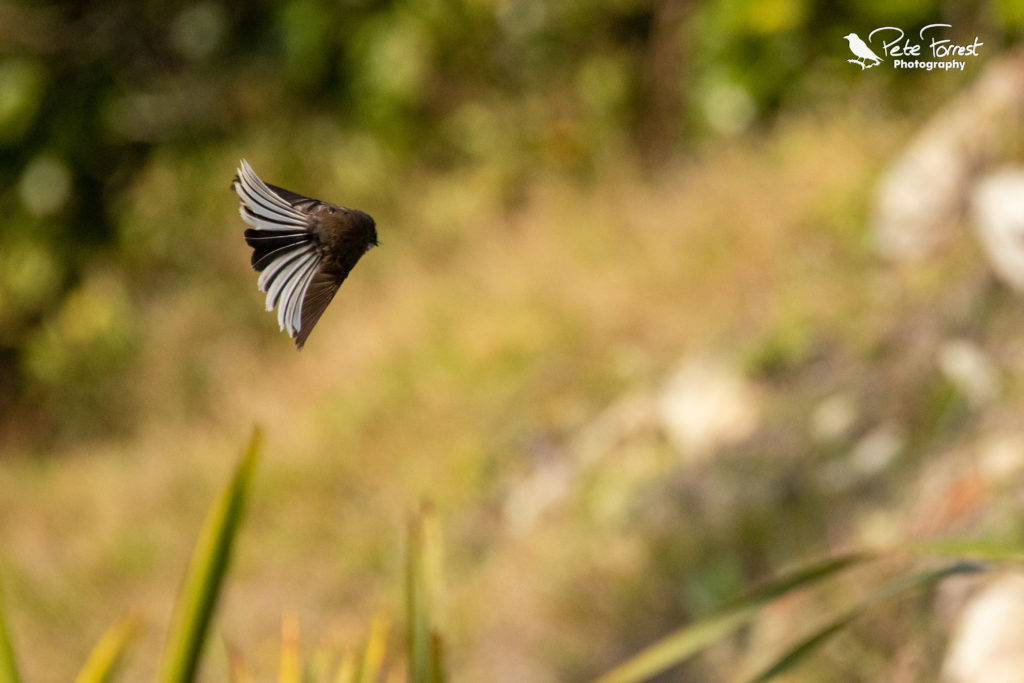
It’s also a matter of personal preference. Some photographers like to choose a shutter speed just slower than that required to show the bird motionless. This gives a slight motion-blur to the wingtips showing the movement of the bird making it feel more full of action.
Heavily blurred wings at 1/1000 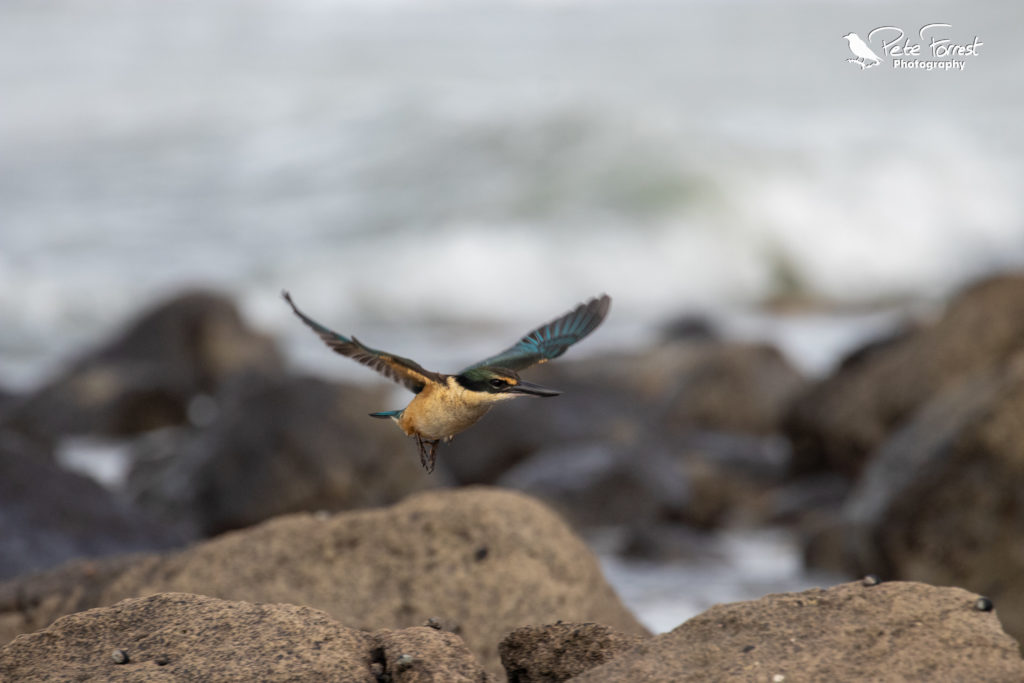
Blurred wing at 1/1600 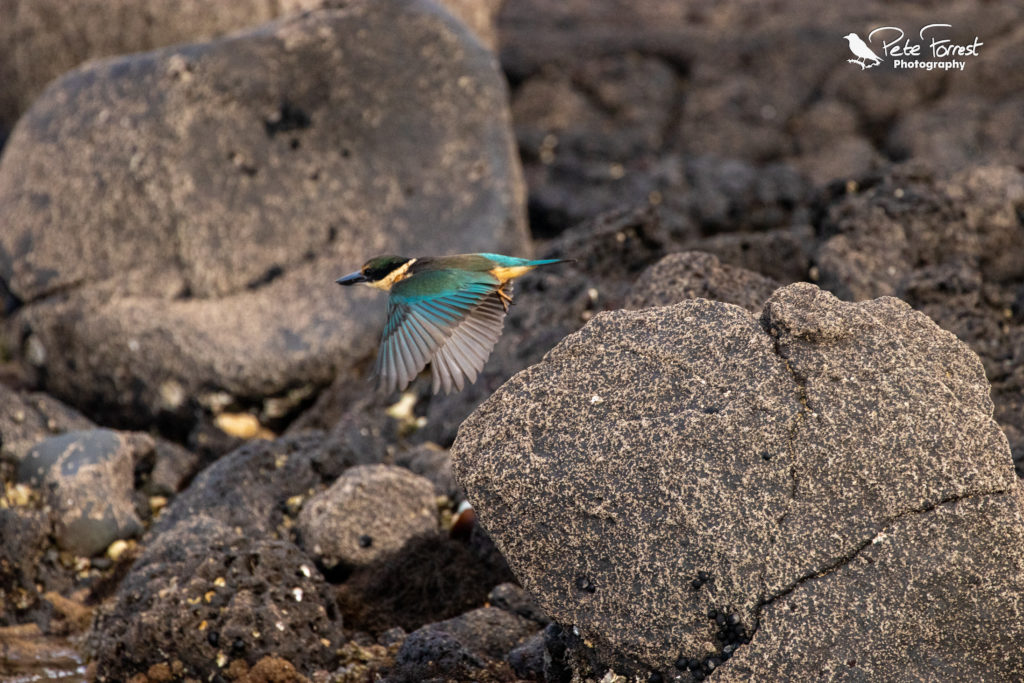
Blurred wing tips at 1/2000
Tip 2: Choose the narrowest aperture you can
Choosing a narrow aperture is especially helpful if you are a beginner or the birds are unpredictable (a narrow aperture is a larger number). By decreasing the size of the aperture, the depth of field increases. This means that as the bird flies through your focal zone, you have more time to capture it in. This time is marginal but can make a big difference to the number of beautifully sharp photos you get.
Narrowing the aperture decreases the amount of light that enters the camera and hits the lens. Take a few test photos and check them to see how narrow an aperture you can use before it’s too dark. Remember that if you are shooting against the sky your bird will be silhouetted if you don’t let enough light in. The reduction of the amount of light is also why you should experiment with the shutter speed. You could just choose as fast a shutter speed as possible but then you would need a wide aperture to maximise the amount of light. Slower shutter speeds allow for a narrower aperture
Tip 3: Set your camera to a high frame rate
It is likely that a lot of the photos you capture will not be that great. Especially at first. A wing beat is a fraction of a second and getting the wings in a position that suits your composition is very difficult with a single shot. A high frame rate will also help you if you are using the next tip too.
Tip 4: Set the point of focus and leave it fixed
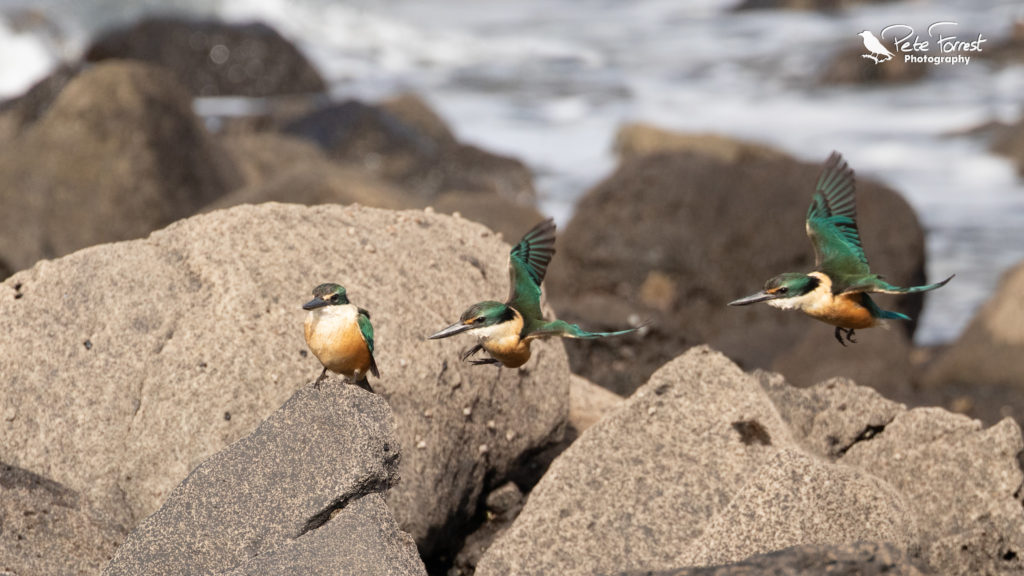
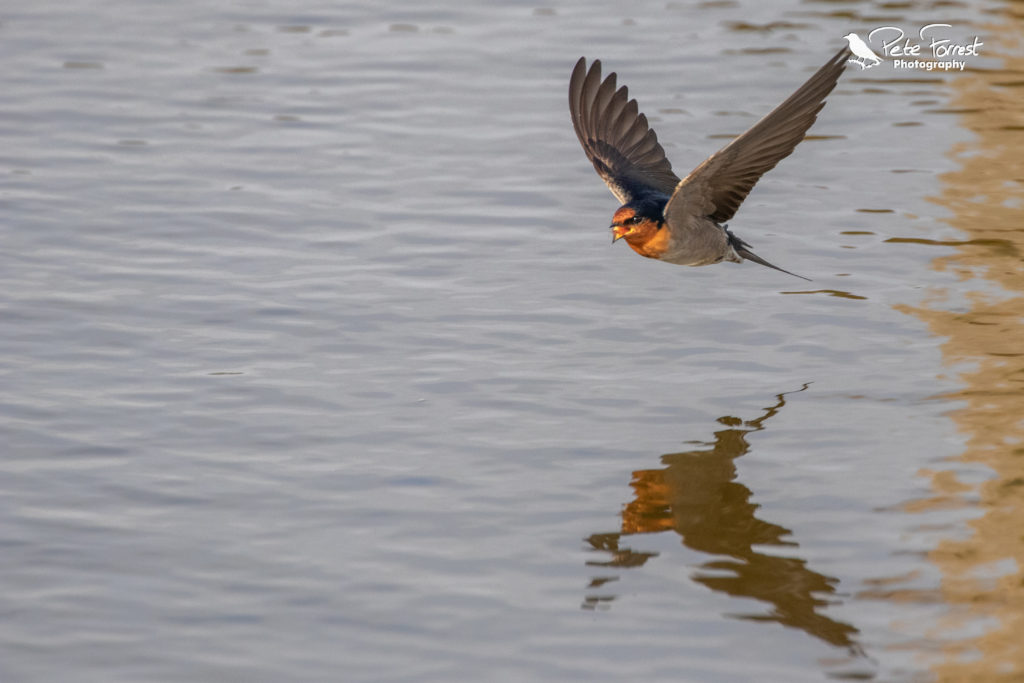
Choose a point of focus and leave it. To fix your focal distance you can either switch to manual control or use the back button focal lock. If the bird is sitting still, predict where it is going to fly and focus your camera so that that point is in focus. If you want to capture the bird as it takes off focus on its eye where it is sat. If, like the swallows, the bird is flying around back and forth choose a fixed point and leave it. Capture a sequence of photos as the bird flys through this focal point. One of the photos should be sharp when the bird was at your focal distance. If not try again or adjust your focal distance.
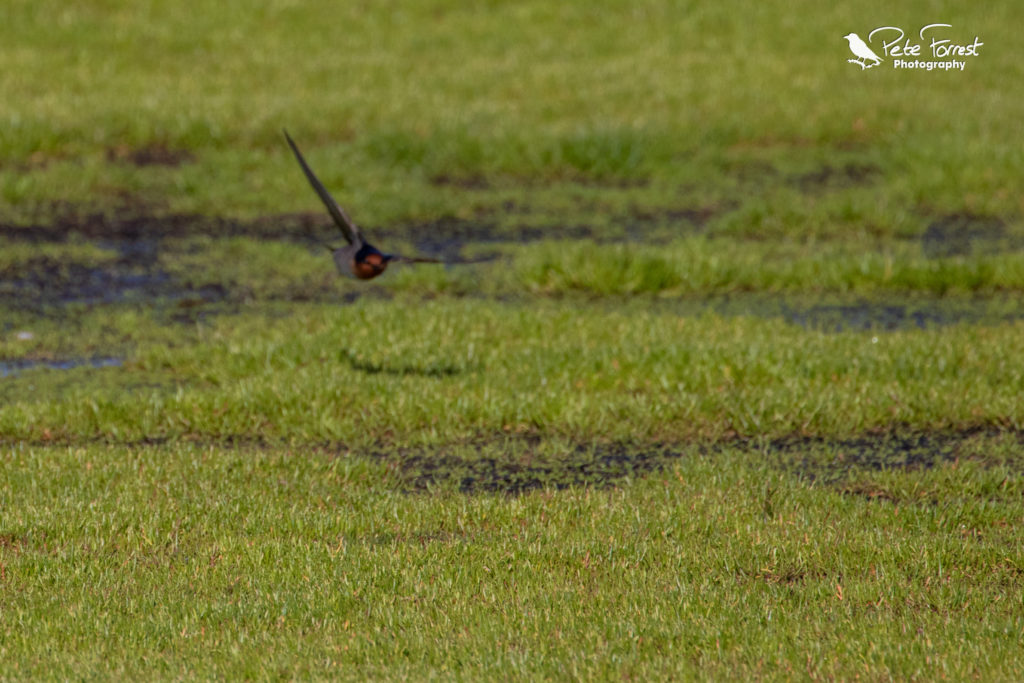
Behind to focus point 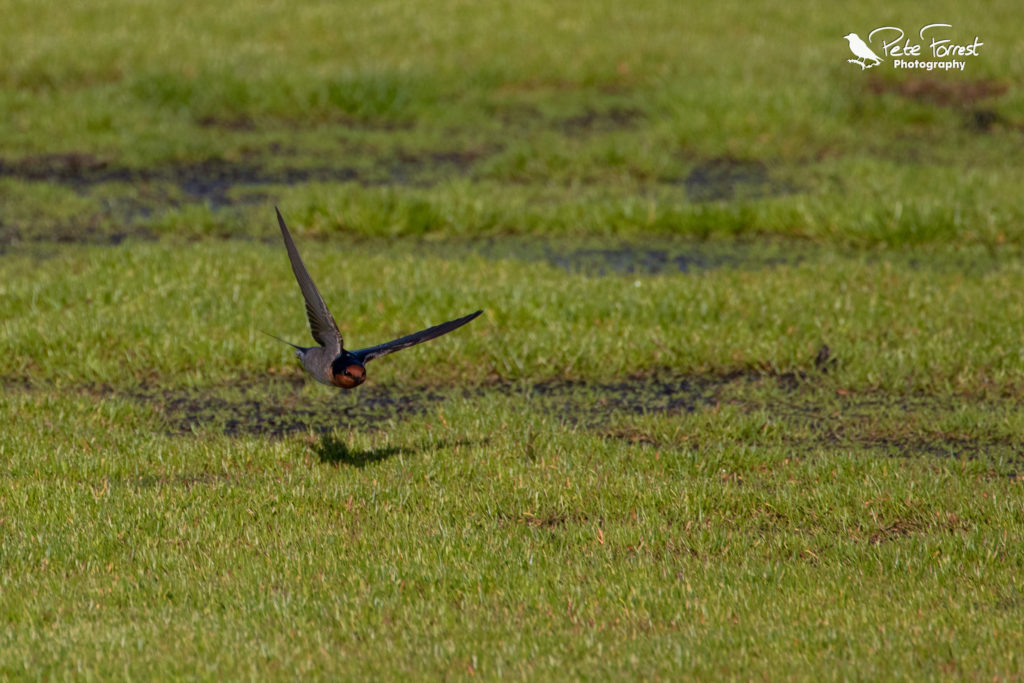
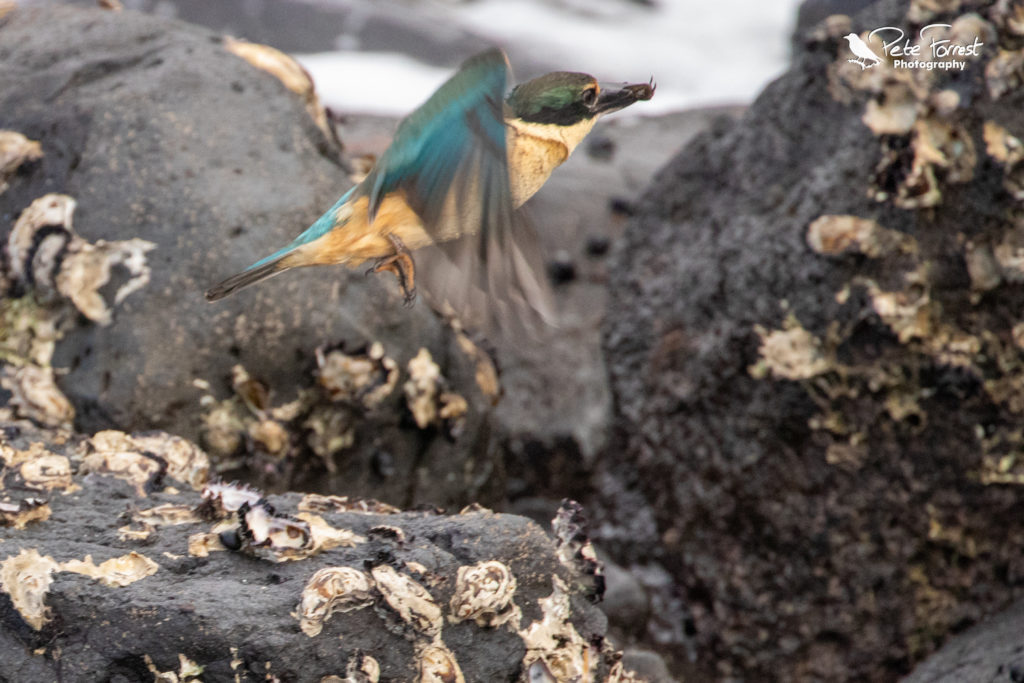
In the focus point 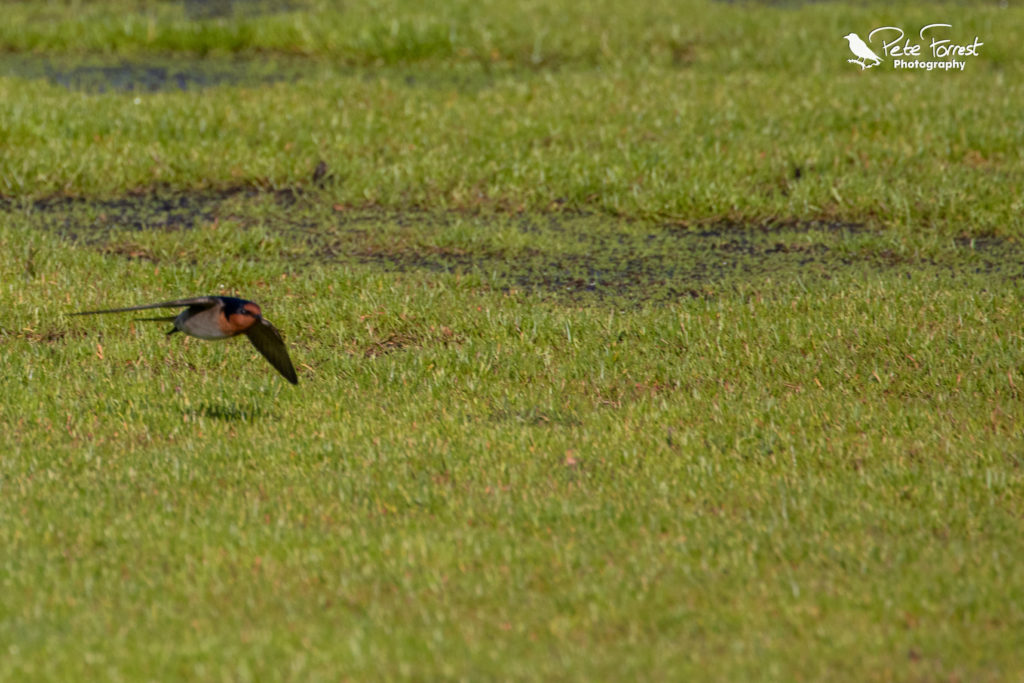
Coming through the focus point 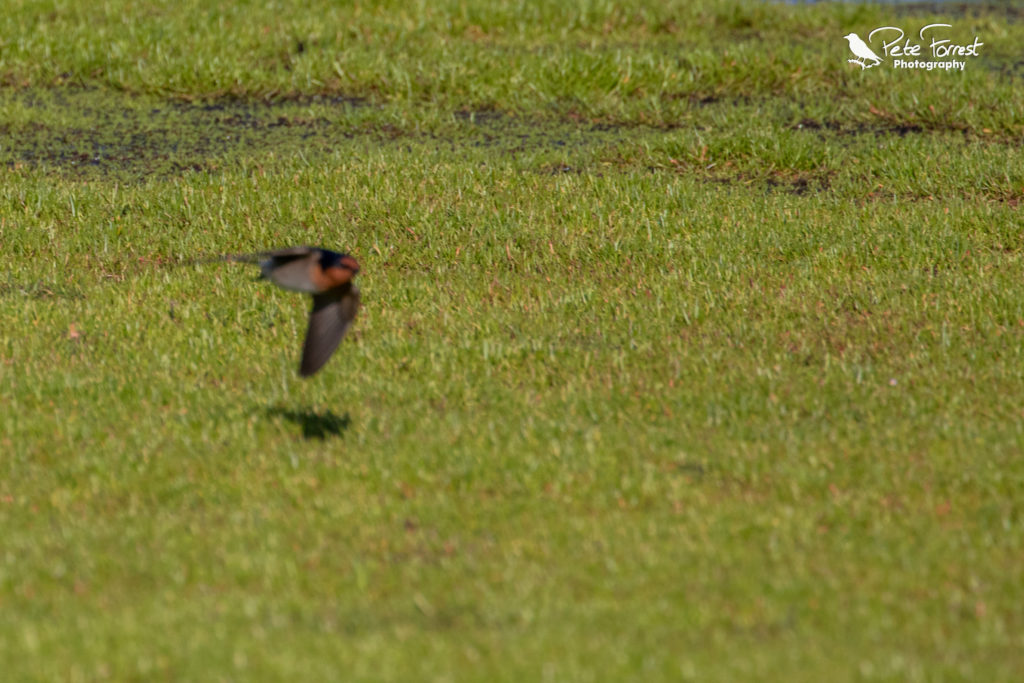
In front of the focus point
These tips will give you a good easy starting point but may not get you the best photos or the highest yield. Learn the birds’ behaviours, know where they are thinking of flying next, position yourself accordingly, and wait. Once you’ve practised taking photos using these techniques you can try to push them. Increase your shutter speed, widen your aperture, and use continual focus. I’ll cover using continual focus for capturing a bird in flight in another post.
So, good luck! And remember being a good photographer is partly skill and partly luck. Get out as much as you can to maximise your chance of being in the right place at the right time. The more photos, you take the better you’ll be and the more chance you’ll have an award-winning picture. Let me know how you get on photographing birds in flight.
For more pictures, see my galleries of fantails, welcome swallows, and kingfishers
Leave a Reply